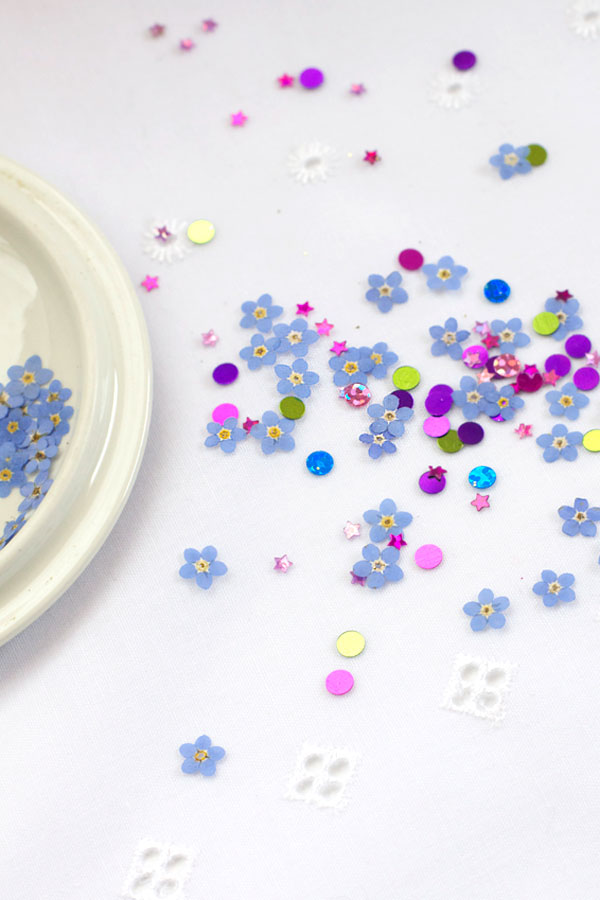
DIY Pressed and Dried Flower Confetti

DIY Pressed Flower Confetti Tutorial - Party and Wedding Idea

It’s been years since I’ve pressed and dried flowers but since our garden is completely covered with them this Spring, I thought it was about time I gave it a go again. These little blue forget-me-nots are particularly prevalent and I’ve always thought that they make the garden look like it’s covered in confetti – so I thought it would be a fun idea to try and actually make some!

DIY Pressed Flower Confetti Tutorial - Party and Wedding Idea

DIY Pressed Flower Confetti Tutorial made with Fresh Flowers

DIY Pressed Flower Confetti - How To Press Flowers

DIY-Pressed-flower-confetti---how-to-2

How to Press Flowers: A quick Guide

Small colourful flowers work best for this DIY. They are best picked fairly early in the morning once the dew has dried and are fully open, but really anytime of day should be fine.

  1. Cut the flowers as close to the stems as possible (without breaking the flower). I found curved nail scissors work well.
  2. Lay flowers face down on a couple of unscented tissues, white tissue paper, flower pressing paper, blotting paper or normal white paper can work ok too.  Paper kitchen towel isn’t so good as, although it’s really absorbent, it’s too textured and will mark the flowers. Also make sure flowers are well spaced and not touching each other (blunt tweezers are really useful to space small ones).
  3. Cover the flowers with another 1-2 sheets of tissue paper and then place several layers of newspaper both above and underneath.
  4. Place flowers in an old book (that you don’t mind if it gets a bit marked) and place lots more books on top to weigh it down (or use a flower press).
  5. For very small flowers, like the forget-me-nots, let them dry for about 1 – 2weeks untouched. For larger flowers (with more moisture), like the violas, you’ll proabably want to change the tissue paper (and maybe even newspaper) after a day or two. This will help prevent them sticking to the paper. Then dry then for a further 2 weeks.
  6. Remove dried flowers gently from paper. I found the smaller ones were easiest to remove by gently bending the paper in different directly so they fell off by themselves. The ones that were a bit more stuck I then removed with blunt tweezers. The larger flowers I found easiest to remove with just my fingers.

I combined the little forget-me-nots with some brightly coloured sequins (rather than the usual confetti paper) as I wanted a really colourful display for the table setting. I think this would look amazing made out of only flowers though or with small pieces of pastel coloured paper. It can potentially be a very environmentally friendly confetti to use outside too!

******

Here are a few of the designs I came up with. I found that the simpler designs worked best for me – ie. using about 3 different shapes of flowers or sequins in varying sizes.

Forget-Me-Nots, Sequins and Little Stars

DIY Pressed Flower Confetti - Party and Wedding Idea

DIY Pressed Flower Confetti Tutorial made for Party

Violas and Forget-Me-Nots with Sequins:

DIY Pressed Flower Confetti with Violas and Sequins

DIY Pressed Flower Confetti with Violas and Sequins

Violas, Sequins and Gold Stars:

DIY Pressed Flower Confetti with Violas and Stars

DIY Pressed Flower Confetti with Violas and Sequins

I think this would be such a pretty idea for spring parties and weddings. It really is simple and doesn’t take too long either.

Let me know how you like this – and if you end up making some I’d love to see it! You can share your pics with me by either  tagging me at instagram (@bitsquare) or posting them directly to my facebook wall!

Australian Lifestyle Bloggers to follow on Instagram - Flowers, Crafts, Healthy Paleo Recipes

Related Post