Beauty Recipes

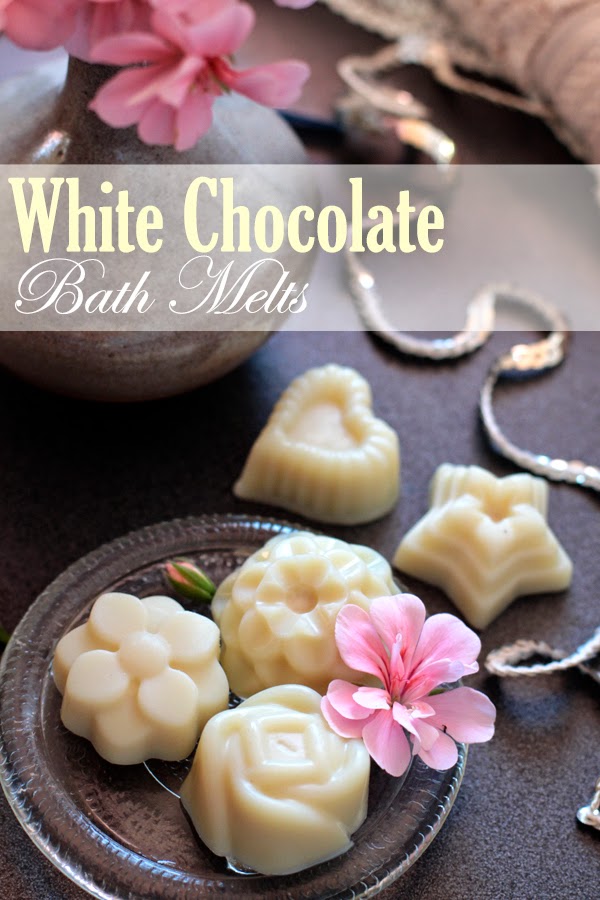
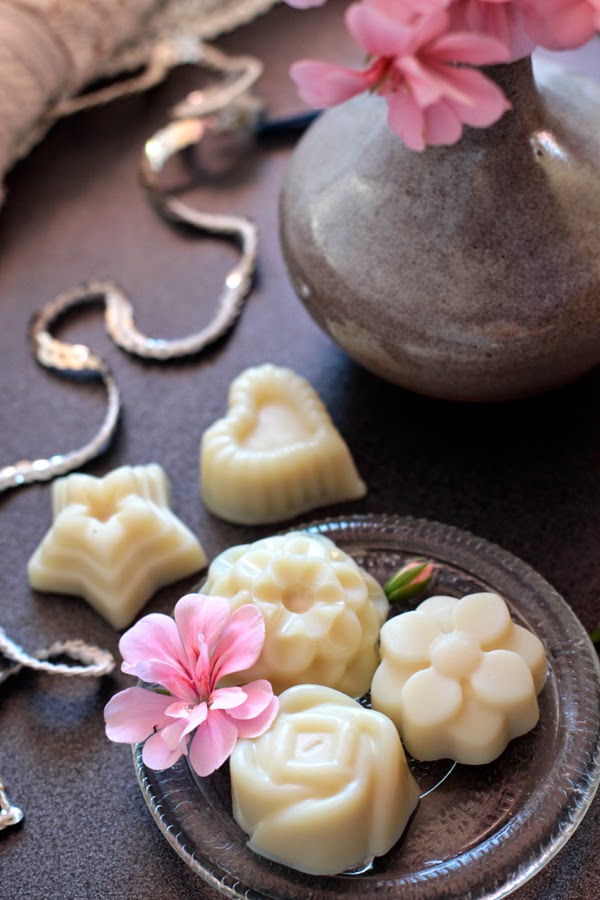
White Chocolate Bath Melts

Indulgent, chocolate-scented, moisturising bath treats. These are currently my new favourite bath time addition and are so simple to make too. I prefer using refined butters and oils in all my homemade beauty products as I find they are kinder to the skin and also blend better with fragrances, but feel free to use the unrefined versions if you like. Unrefined cocoa butter will have an even stronger smell of chocolate (so its pretty nice), unrefined coconut oil will make these smell of coconuts as well. Please not that I’ve included affiliate links  in this post (more info here)
 

Ingredients:

The links above are for products on Amazon available in the US. I’ve put together a list of more international online suppliers for these ingredients if you have any trouble sourcing them.

You will also need:

  • Chocolate moulds or an ice cube tray

I used these ones, if you’re in Australia they currently have them at the Reject Shop. I’ve also seen them on ebay too. I really like these Rose and Daisy ones too.

Method:

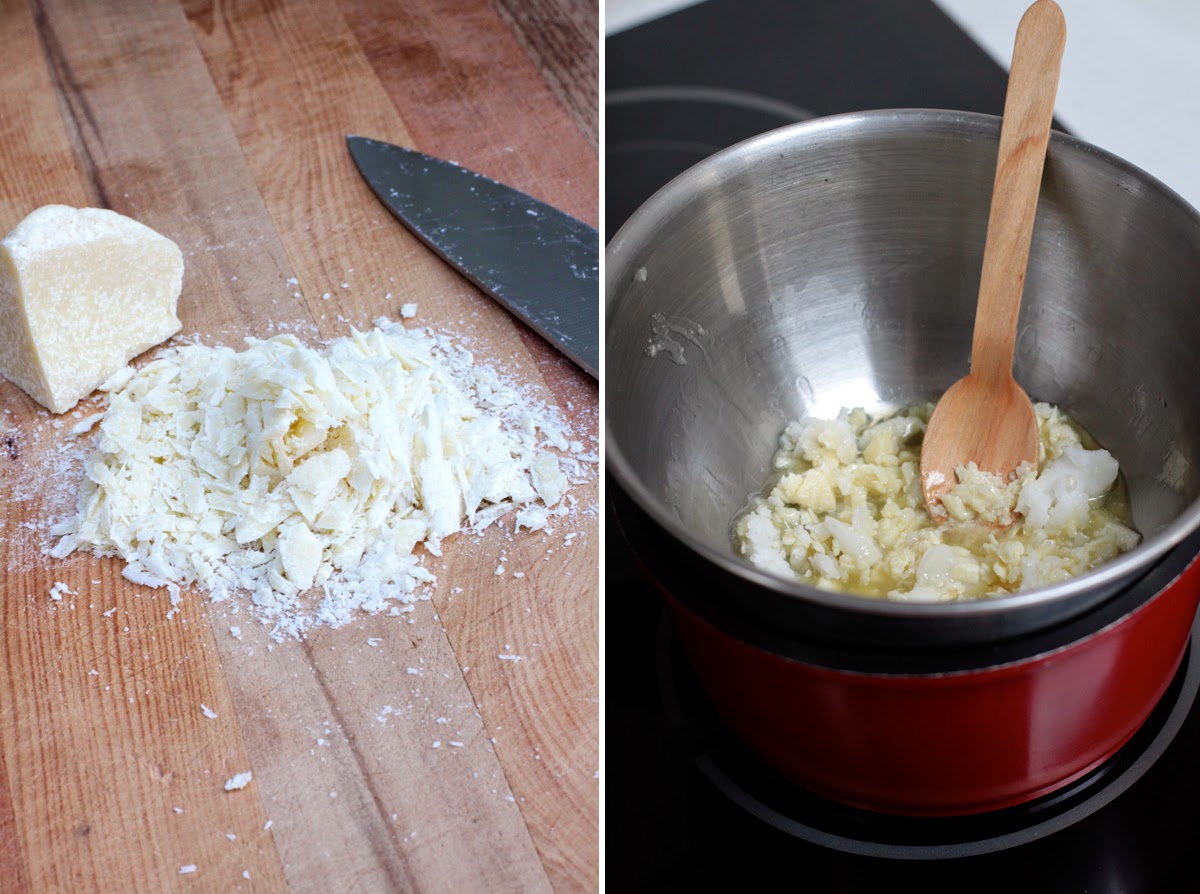
1. Shave cocoa butter into small pieces and flakes using a large, sharp knife (or you could use a grater).

2. Bring about 1 1/2 cups of water (1″ depth of water or so) to boil in the saucepan and let it simmer at a low temperature.

3. Place the cocoa butter and coconut oil in a bowl over the saucepan and stir until melted. I like to prop the bowl up on a spoon so steam can escape easily from the side.

4. Take the melted oils off the heat and add the essential oil (if using).

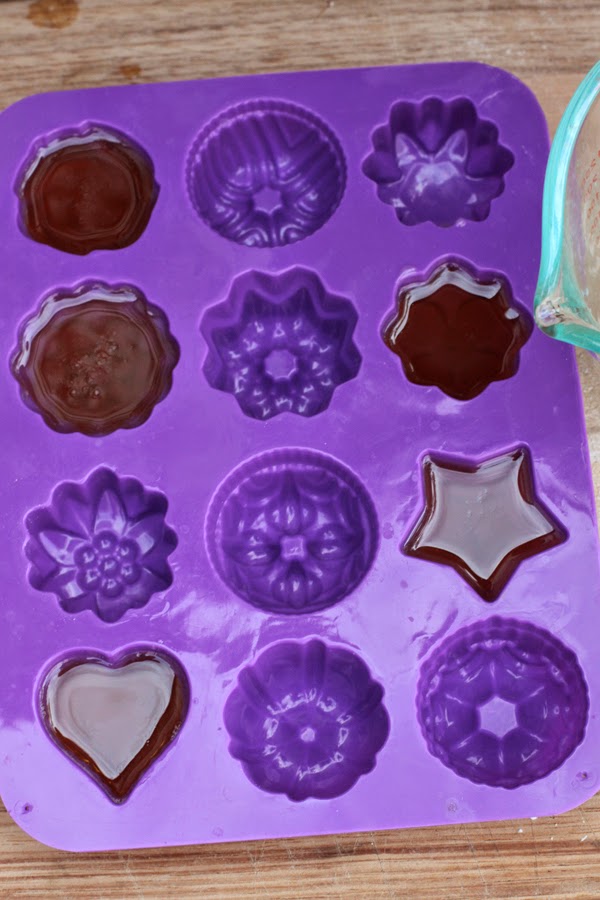
5. Pour into moulds and let them set in the refrigerator for a few hours.

6. Once set, gently remove from moulds and store in a cool,dry place. 

These have a tendency to melt (similar to chocolate) in warmer temperatures and can stick together too. I store mine in an airtight jar in the refrigerator (make sure to label them so that they won’t be mistaken as food!)

How to use: 

Simply drop one or two into a warm bath and enjoy. I usually add a cup or two of epsom salt as well.

*Safety Advice*

These can make the bath pretty slippery so please be really careful. Use a good quality bath mat and add the melts after you’ve gotten into the bath so that you don’t slip getting in. It’s a really good idea to give the bath a quick wipe around after you’ve finished to remove the oil too. I just use a cleaning cloth with some cheap face cleanser or shower gel.


Let me know how you like these. What are your favourite additions to a relaxing bath?


Linking up with: Monday Funday, Funday Monday,

DIY Natural Beauty Ingredient Suppliers (International)

Creating natural beauty products is another thing that I absolutely love to do and, as I’m hoping to start sharing some of my favourite recipes here on the blog, I thought I’d put together a list of some suppliers that I’ll be able to refer you to in the future. I find many of the the ingredients  (pure shea butter, jojoba oil,  beeswax, salts and clays) either really difficult or expensive to find in the usual stores so I generally prefer to buy these online. All these websites look great and carry a wide range of everything you should need to get started. 
Please note that I don’t have personal experience from these stores (apart from a couple of the Australian ones). I’ve discovered these all through other websites, books and blogs and although I  believe them to be genuine and reputable, please always take appropriate care when purchasing from any new store.
Australia
USA
Canada 
UK/EuropeThe Soap Kitchen, Fresh Oli, The Soapmaker’s Store, GracefruitG. Baldwin and Co,Everyone

Ebay, Etsy or Amazon all carry beauty supplies too.

I find health food stores, naturopathic pharmacies (drug stores) and craft stores are the best real life places to find these.

……And let me know of any more great places too :)

DIY Quick and Simple Sugar Scrub Recipe – The Basics

This is a really wonderful recipe for the skin and I find it so much effective than most commercial scrubs. It literally takes  a second to make and is also budget friendly too!
Basic Recipe
Ingredients:
1 Part Skin Friendly Oil (see suggestions below)
1 Part Finely Ground Sugar
A few drops essential oil (optional)
Directions:
Mix oil, sugar and essential oil (if using) together until combined. Apply to dampened skin then rinse off. Most of the oil will stay on your skin but please be careful in the shower as sometimes the oil can make it very slippery.
Store in an airtight jar for up to several weeks (Keep it away from ants as they LOVE this)
As this is so quick to make I usually just make enough for each time I need it though rather than making a big batch to keep.
My favourite oils to use: Extra Virgin Olive, Coconut, Sweet Almond, Avacado, Jojoba,
Extra Virgin Olive is usually what I’ll use as it is not only the most economical and easy to source, but also really nourishing to dry skin and high in wonderful vitamins (such as vitamin E). I find olive oil a little heavier than some of the other oils so for me it’s best to use on the driest ares on skin such as the feet, hands, knees and elbows. Just be warned some olive oils can have a strong olive smell, sometimes quite fruity, sometimes more peppery, if that bothers you you might prefer some of the other oils (or using Light Olive Oil). Whatever oil you use will stay on and moisturise your skin after you’ve washed the scrub off. A lot of recipes use less oil than I do but I find the scrub too dry otherwise.
My favourite sugars: Any fine grain sugars such as light or dark brown sugar (powdered), demerara sugar or castor sugar
The sugar grains not only mechanically exfoliate dead skin cells but also contain glycolic acid, an AHA (alpha hydroxy acid) that further helps dissolve and break down these cells. Sugar is also hydrating as it draws in moisture from the environment rather than taking it from the skin (like salt does). Although eating refined sugar isn’t the best thing for your skin or body, I don’t believe there is any benefit to using healthier unrefined sugars (such as evaporated cane sugar, date sugar, molasses sugar) for this than standard white or brown sugars, so don’t waste those here.
My favourite essential oils: Orange, lemon, lime, peppermint, lavender, grapefruit
I am only starting to learn about essential oils so I don’t have too much information about them yet. Just be warned that essential oils can be quite potent and certain ones quite irritating to the skin. Everyone is different, I know peppermint can be really irritating to a lot of people whereas I find it quite soothing. I hear that there are certain oils that are dangerous when pregnant too so just make sure to do your research. Essential oils can be rather expensive but I’m finding they are much more affordable to buy direct from online soap/cosmetic/candle supply wholesalers. I actually prefer to make most of my cosmetics without fragrance or essential oils so they don’t interfere with my perfume.

Linking up with: Style Elixir,