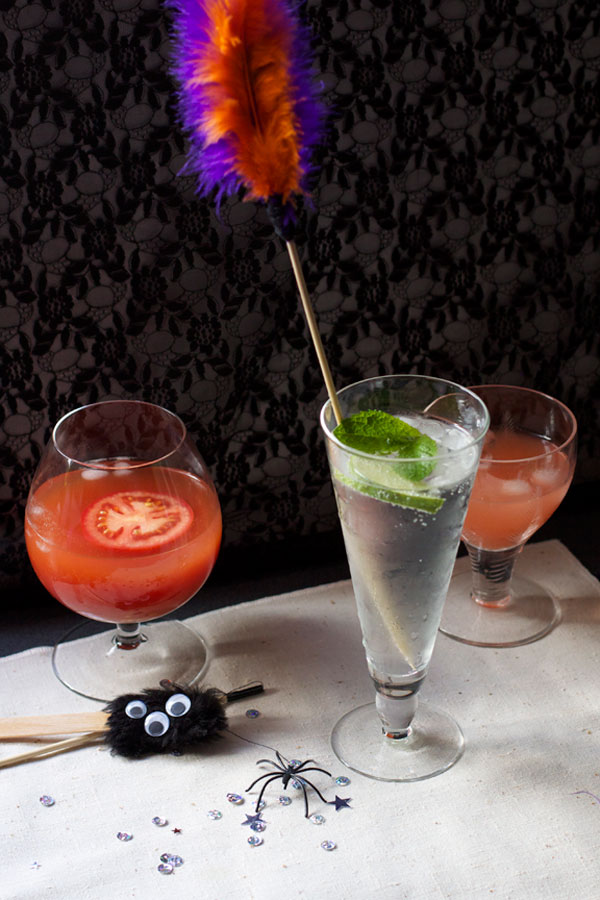
I love the sense of occasion a fun, colourful stirrer can add to a drink . As halloween is coming up I thought I’d come up with a few simple ideas that would be quick and easy to make especially for the celebration. I created three (reasonably spooky) designs here that all take pretty much less than a few minutes to make. All the craft supplies used are also things you’ll probably already have laying about the house too!
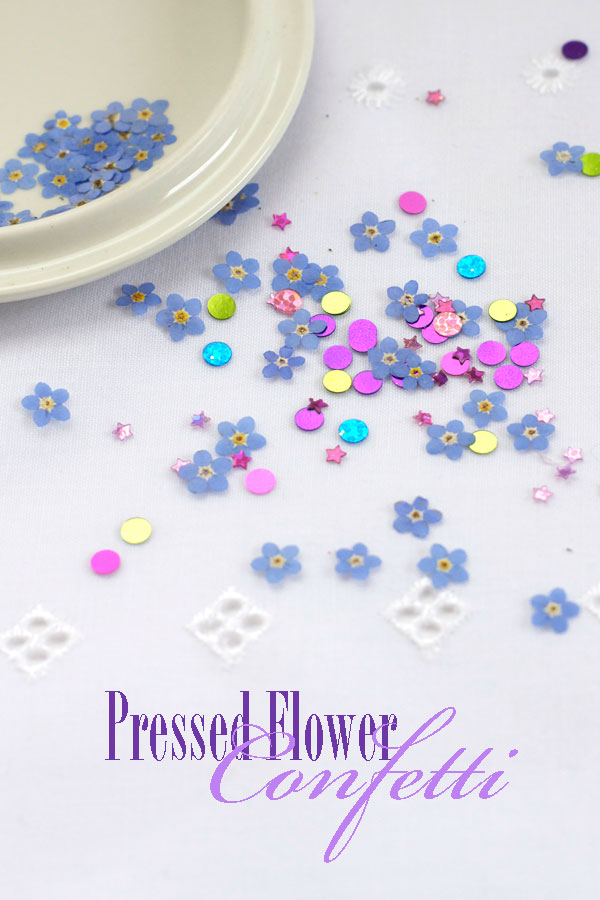
It’s been years since I’ve pressed and dried flowers but since our garden is completely covered with them this Spring, I thought it was about time I gave it a go again. These little blue forget-me-nots are particularly prevalent and I’ve always thought that they make the garden look like it’s covered in confetti – so I thought it would be a fun idea to try and actually make some!
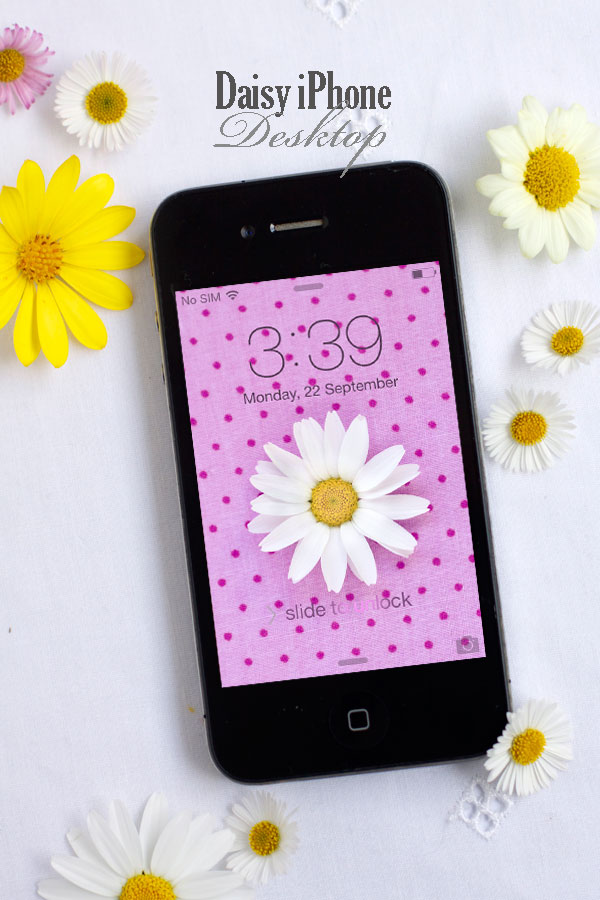
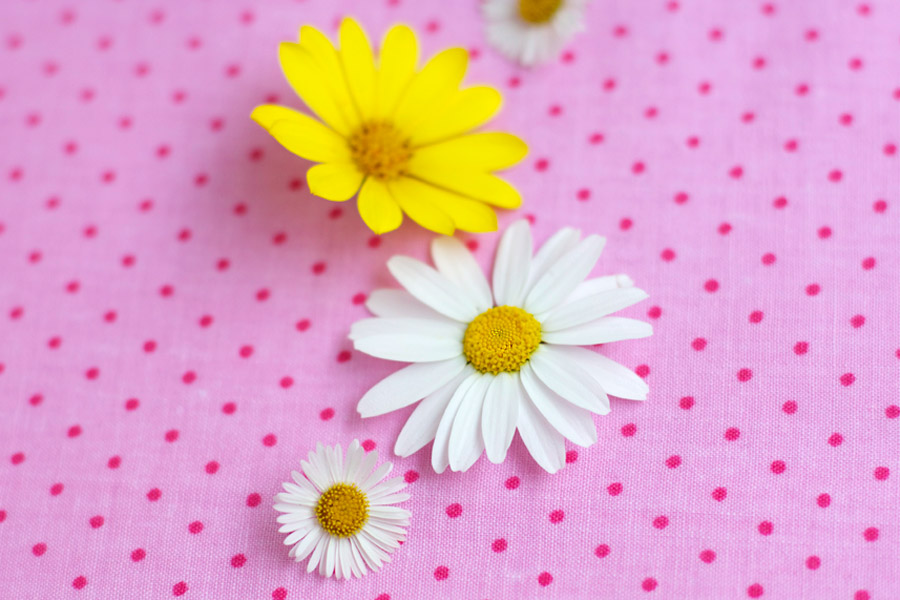
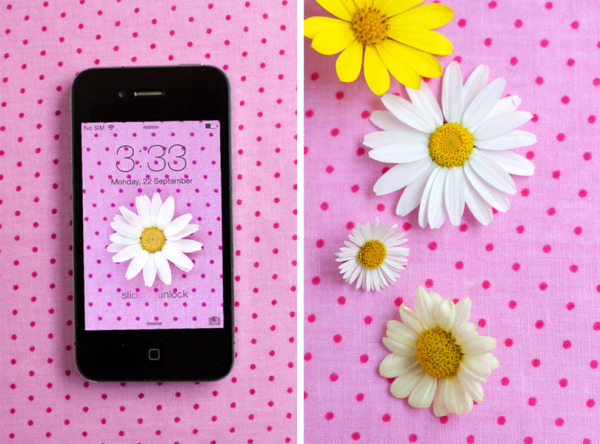
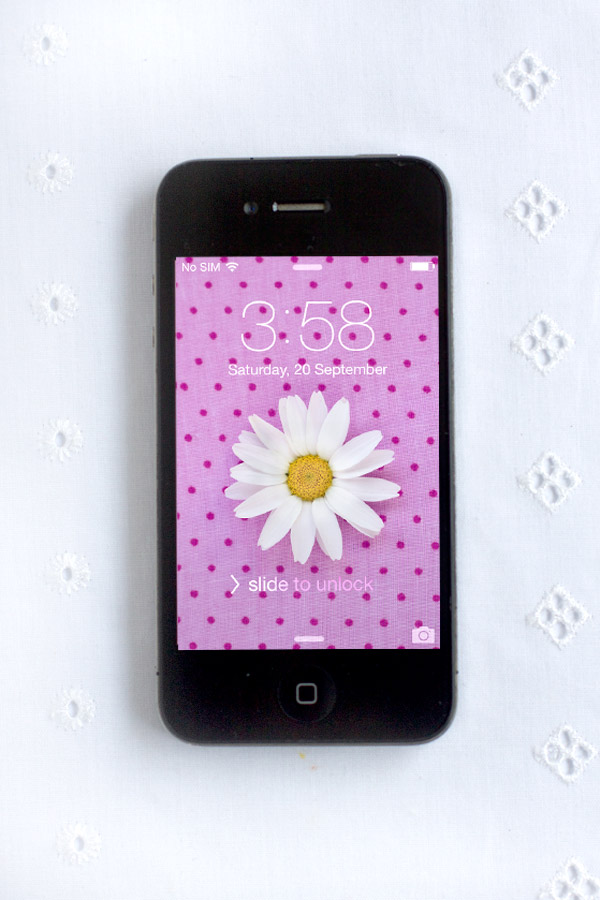
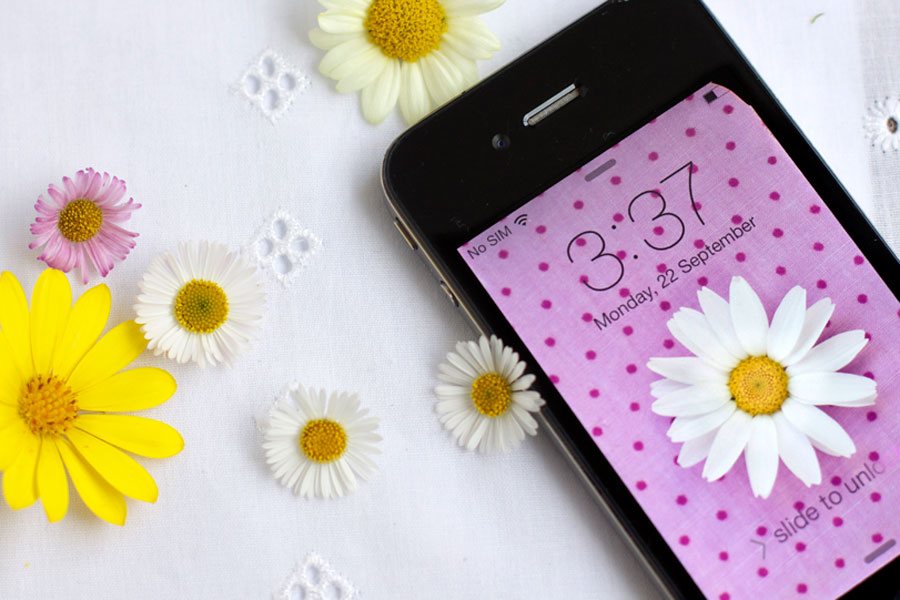
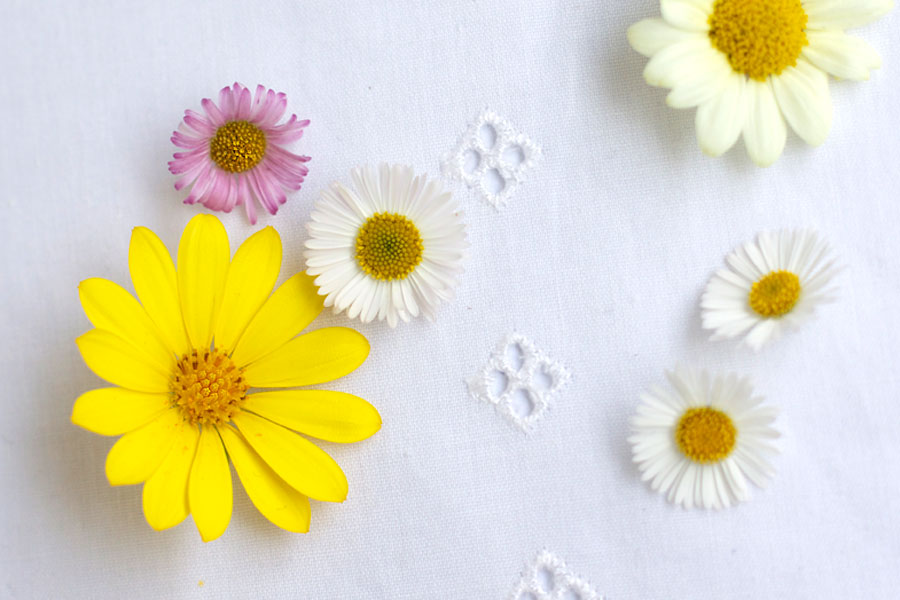
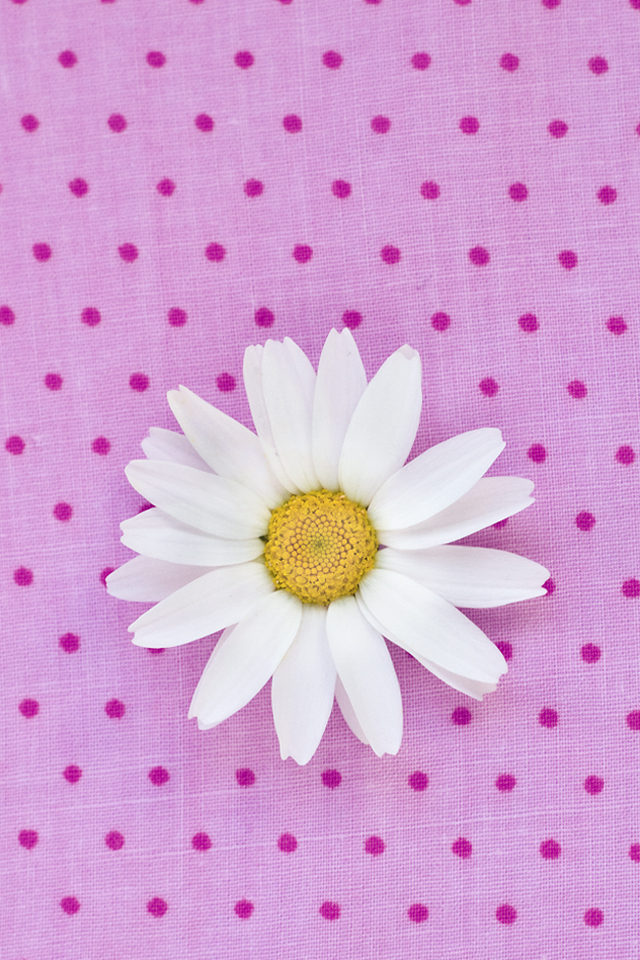
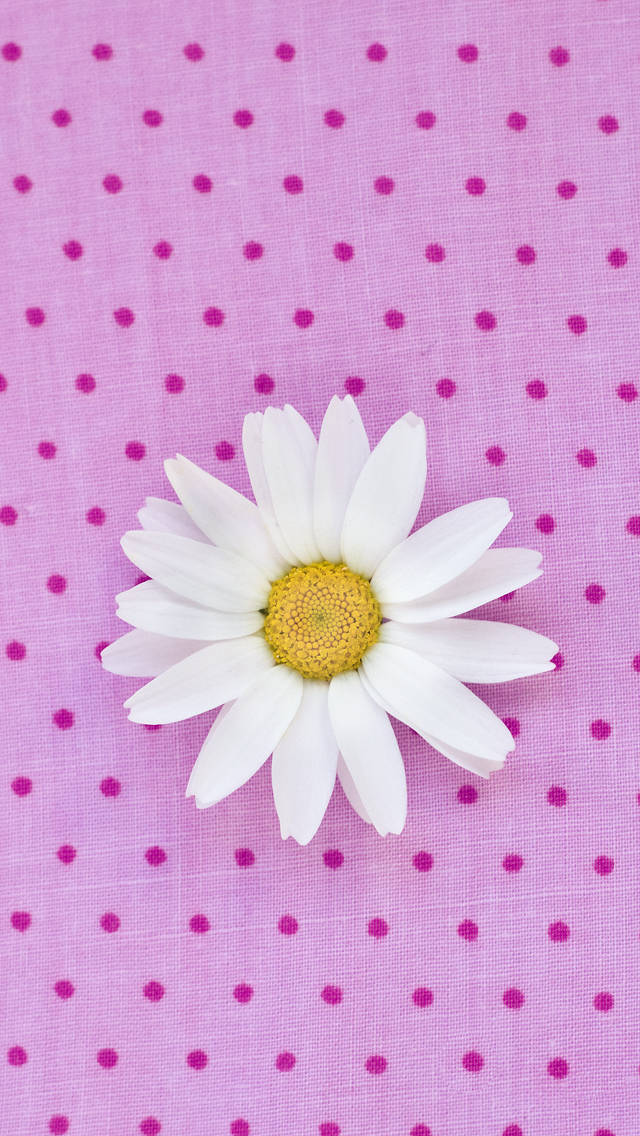
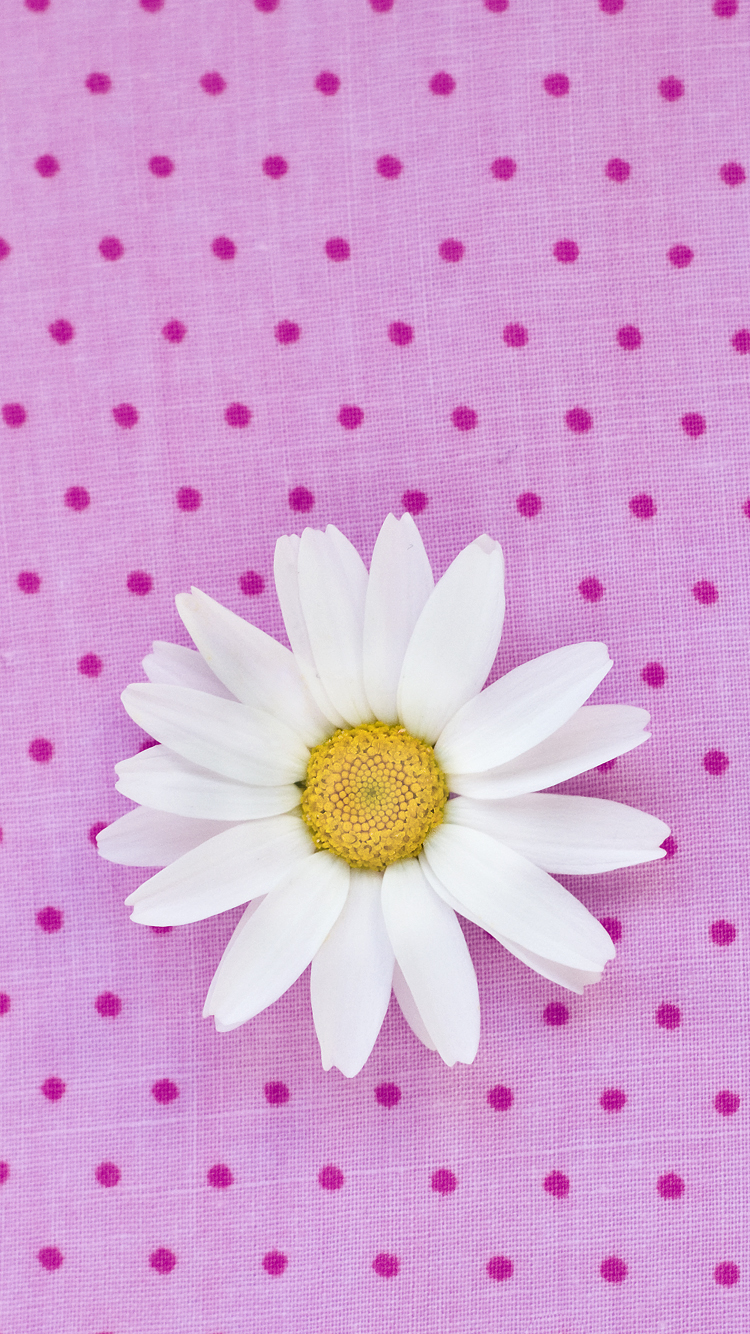
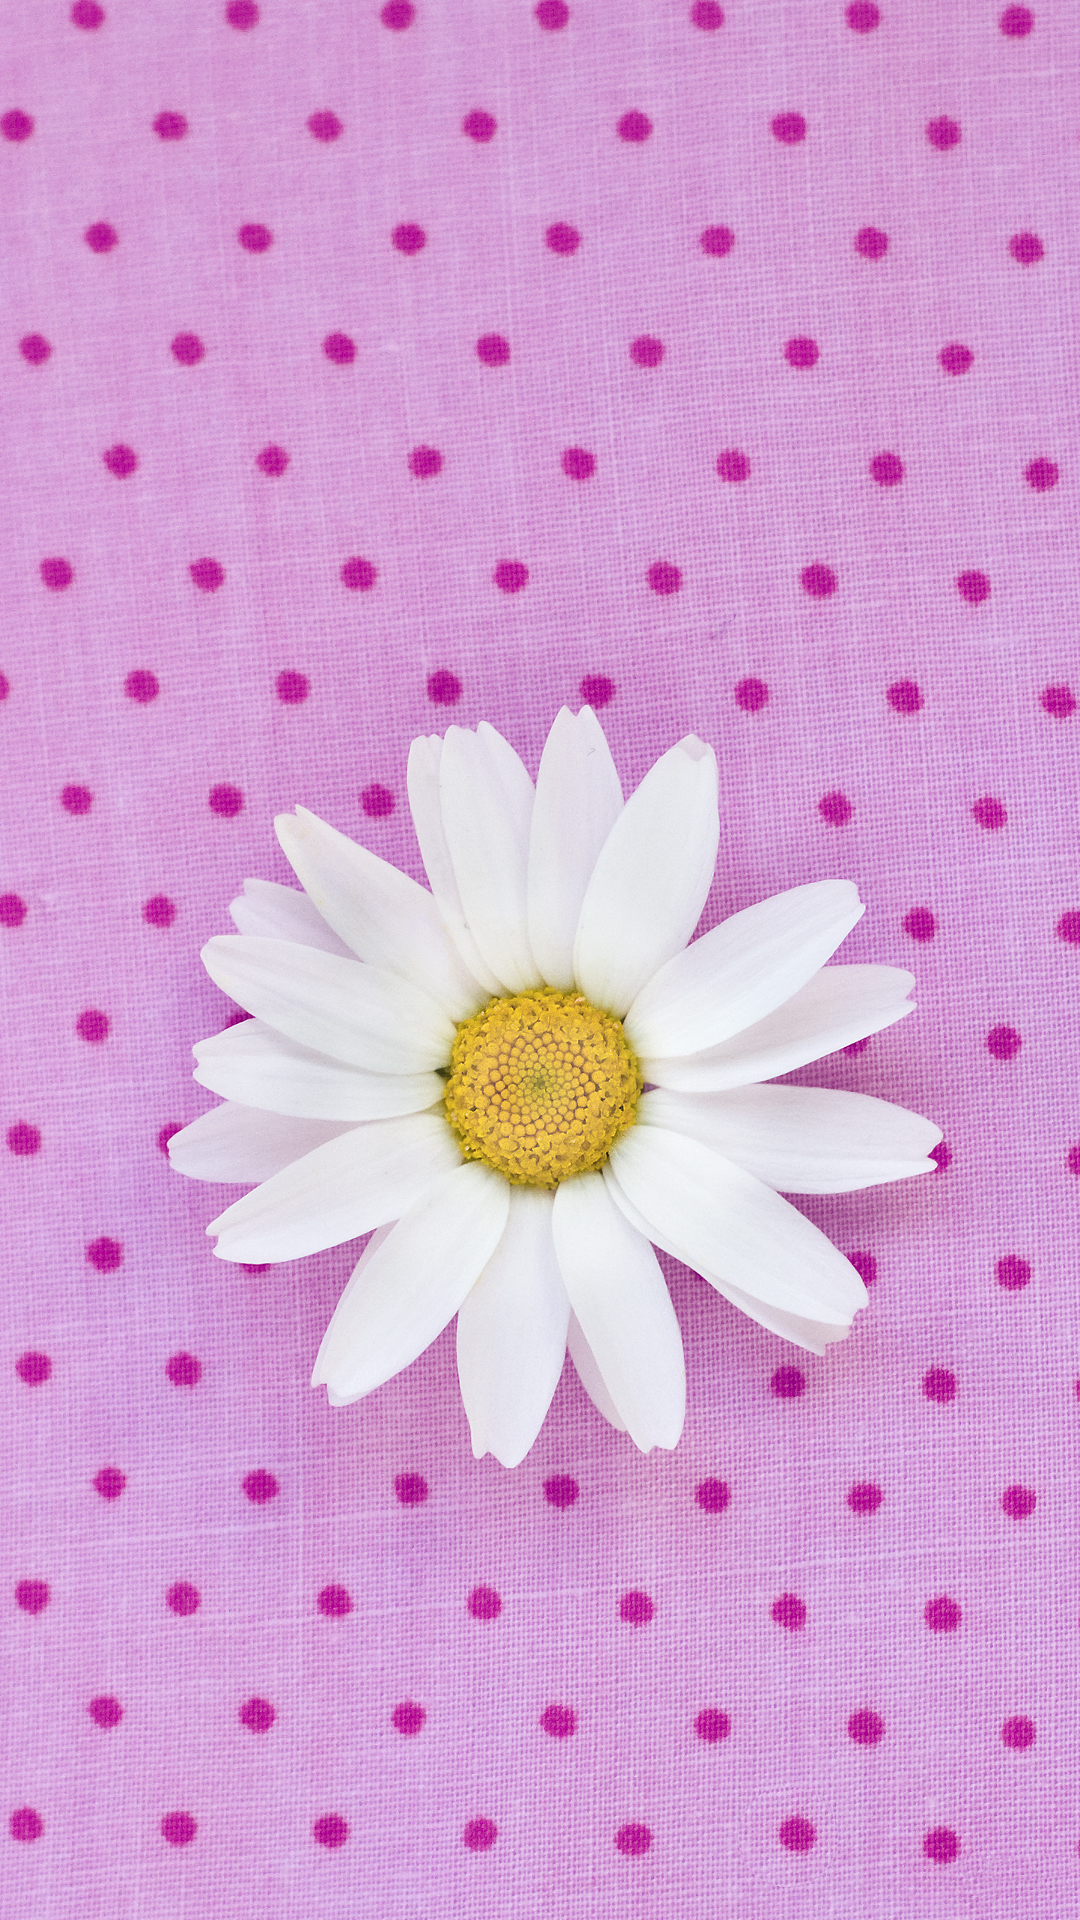
The daisies are so pretty in our garden at the moment and with the starting of spring, I thought I’d create a new phone desktop for myself to celebrate. I know a lot of you are heading into Autumn now but I thought you might like to be brought a bit of spring cheer anyway.
I saved the file in 4 sizes – for iPhone 4, 5, and both 6s but they would be easy to resize for any other phone.
To install onto iPhone: Open this page on your phone and click on the size you ‘d like. Hold down on the image and click ‘Save Image’. Open your photo library, click on the share option and select use image as wallpaper – then set as lock screen. Another way to do this is to save the image to your computer then email it to yourself or use something like dropbox to get it onto your phone too.
Hope you like this one. Have you been enjoying the new change of season so far?
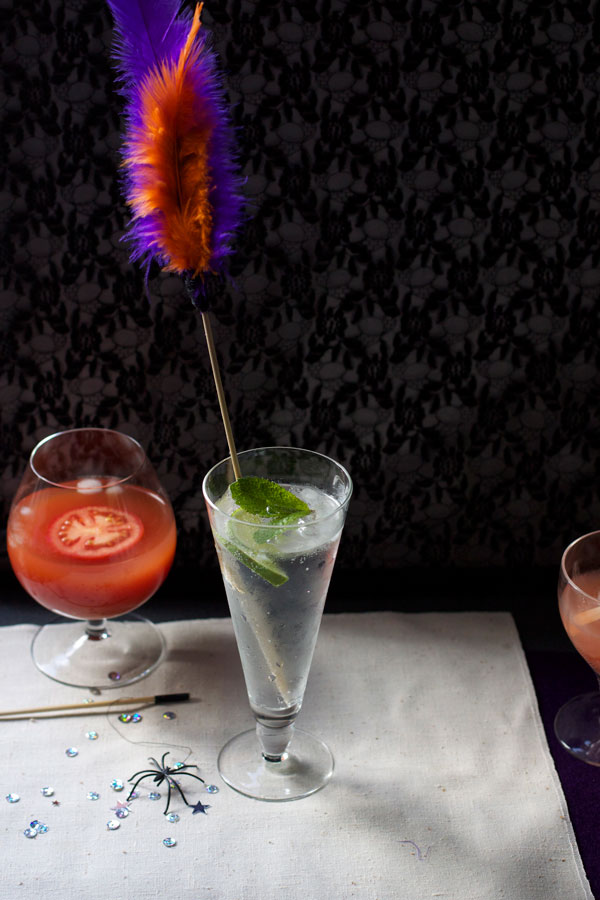 I love the sense of occasion a fun, colourful stirrer can add to a drink . As halloween is coming up I thought I’d come up with a few simple ideas that would be quick and easy to make especially for the celebration. I created three (reasonably spooky) designs here that all take pretty much less than a few minutes to make. All the craft supplies used are also things you’ll probably already have laying about the house too!
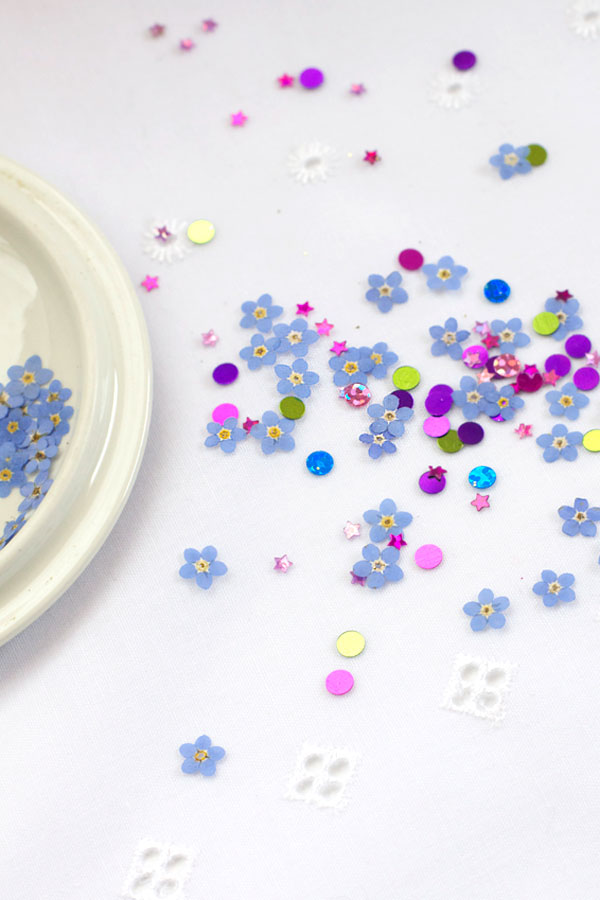

