I watched some Masterchef a couple of weeks ago and as soon as I saw these cookies I knew I had to try making some. I love simple recipes and as I also eat a gluten free diet, I’m always on the lookout for great ones without any grains.
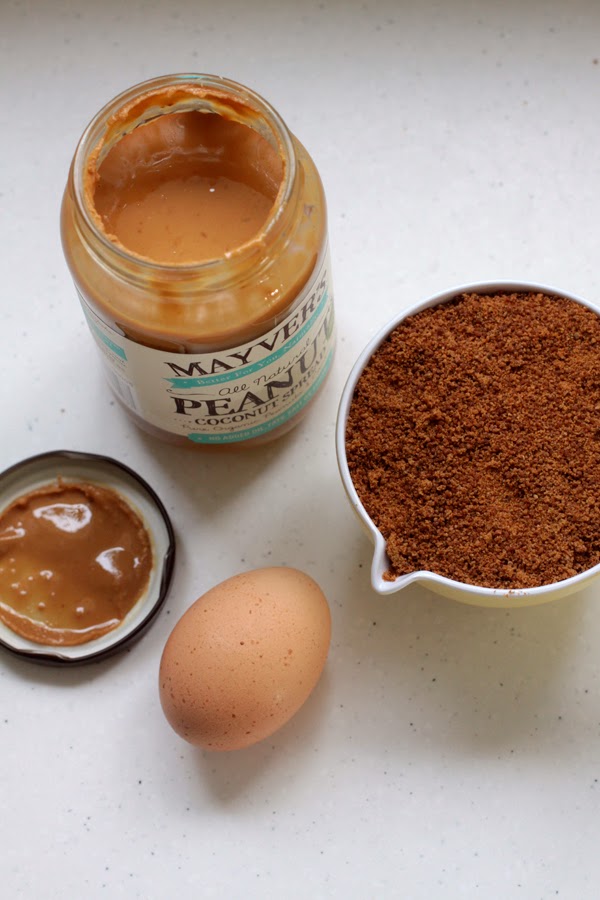
I’m pretty sure that on the the show they used regular Kraft peanut butter. I made a bit of a mistake by buying a peanut butter that I thought was with coconut oil but turned out to be be with coconut meat and no added extra oil. It was yummy but a little drier and claggier than usual. I also used coconut sugar instead of white as it’s slightly healthier and has a rich carmel taste that I thought would go great with the spread.
1 cup Peanut and Coconut Spread (Peanut Butter)
1 cup Coconut Sugar
1 egg
A good few pinches of salt (as my peanut butter was salt free)
Method:
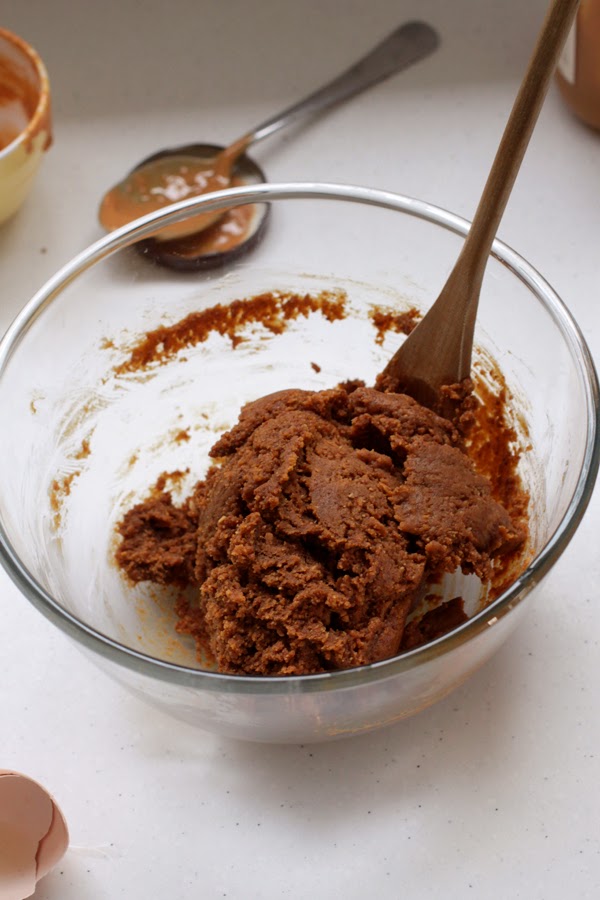
1. Place peanut butter, sugar and salt in mixing bowl. Beat egg in separate bowl then add to other ingredients. Stir well to combine (Masterchef uses an electric beater but I found hand mixing fine).
2. Form mixture into round bowls and press down with fork (as the peanut butter I was using was drier than usual, these didn’t flatten at all for me in the oven, so I actually pulled them out towards the end and flattened them even more with a spatula – Masterchef’s one seemed to flatten really well).
3. I cooked mine for about 14mins at 190oC (375oF). The original recipe only calls for 9mins, so see how you go.
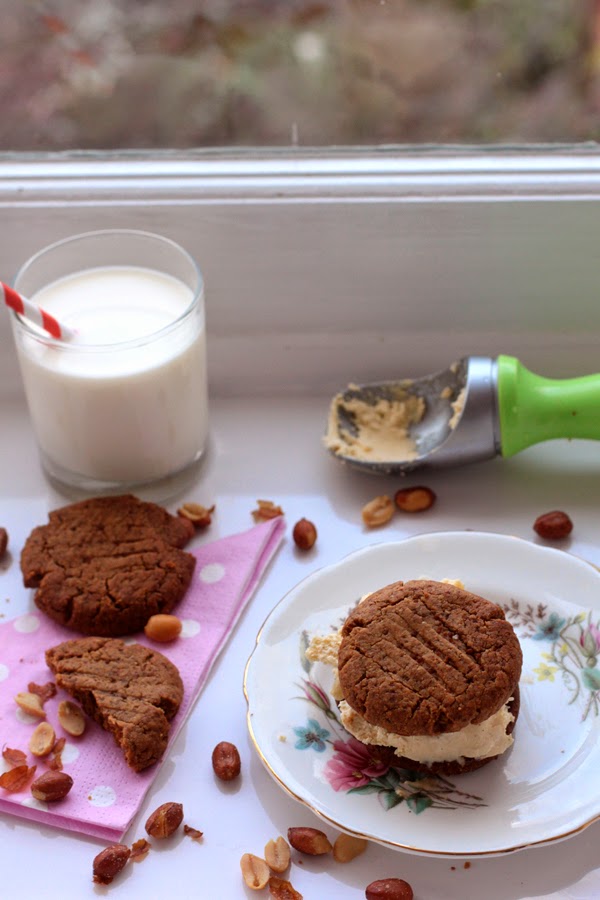
This made 16 cookies for me.
They tasted amazing. They were especially great with a drink of milk or as an icecream sandwich. I did find them a little claggy and dense still, but I think that was primarily from the spread I used. I like normal peanut butter better so I imagine they would taste better using that. I think perhaps adding a bit of coconut oil might have helped too, or an extra egg. I look forward to trying these with some other nut butters – such as almond or cashew. Hopefully they will work out just as well.
I really only made these so I could make ice-cream sandwiches! This is a homemade vanilla bean ice-cream. On Masterchef they also served them with a great recipe for an instant apricot icecream.
Have you ever made cookies like these? Let me know how they work out for you. :)
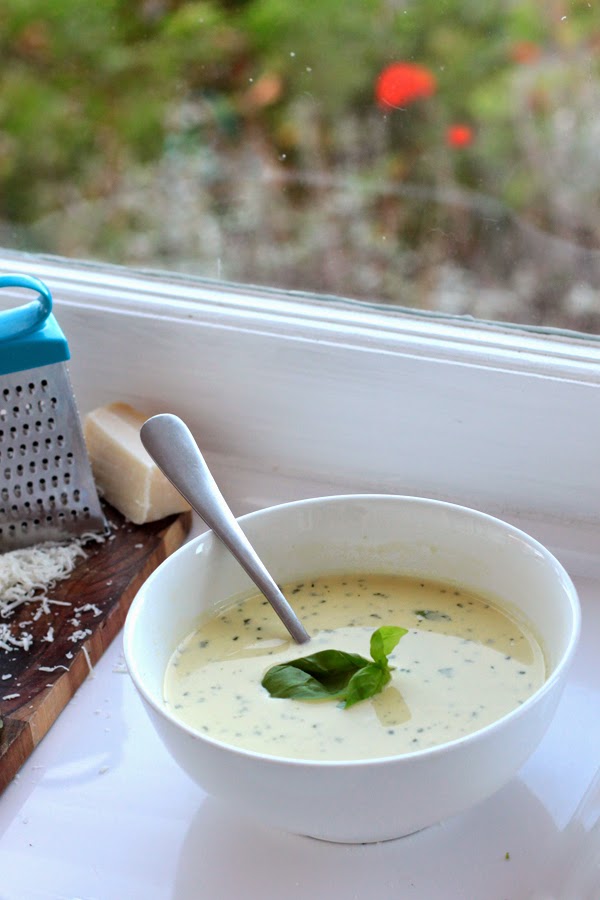
This is a really nice quick recipe that I love making for my lunch during the week. The combination of the zucchini, basil and parmesan is such a good one. I personally don’t like garlic so I don’t add it here but it would be really good in it too. Using grated zucchini dramatically reduces the cooking time and also makes it taste much fresher. You don’t have to add as much butter or double cream as me (although it is super tasty) – just substitute a nice olive oil, milk or single cream instead.
I’m just making this for myself today so adjust recipe accordingly:
Zucchini, Basil and Parmesan Soup
Ingredients:
Serves 1
1 small zucchini (about 125g/4.4 oz)
2 tbsp finely chopped fresh basil (about 1 handful of leaves)
1 1/2 cups chicken stock
1/4 freshly grated parmesan
1 tbsp unsalted butter (or olive oil)
1 tbsp double cream
1/2 clove of garlic, finely chopped (optional)
Pinch of salt
1. Grate zucchini and add to a small saucepan along with basil, garlic (if using), pinch of salt and a tiny bit of butter/olive oil. Let mixture soften, stirring over a low-medium heat for about 3mins. Gently heat stock in a separate saucepan.
2. Add hot chicken stock to vegetable mixture and allow it to cook for a few for minutes over a gentle simmer.
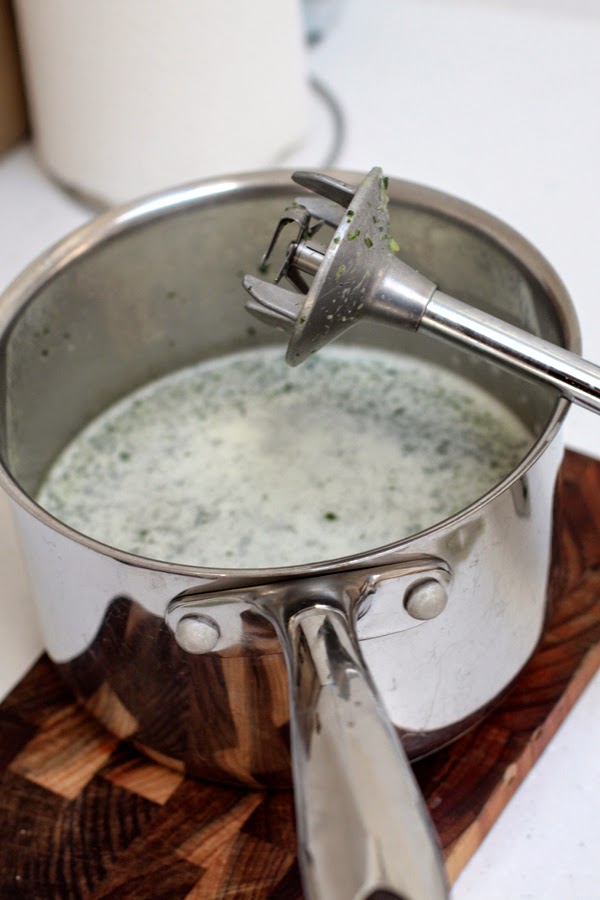
3. Take soup off heat, add butter and double cream and blend until smooth. If you are using a stick blender make sure to keep the blades under the liquid otherwise it will become very frothy!
4. Pour into serving bowl, add parmesan and stir until combined. That’s it.
The smaller the zucchini you use the sweeter and more flavour it will have, so if your using a larger one you may need to up the quantity get a good flavour.
Hope you enjoy this. What is your favourite vegetable soup to make at home?
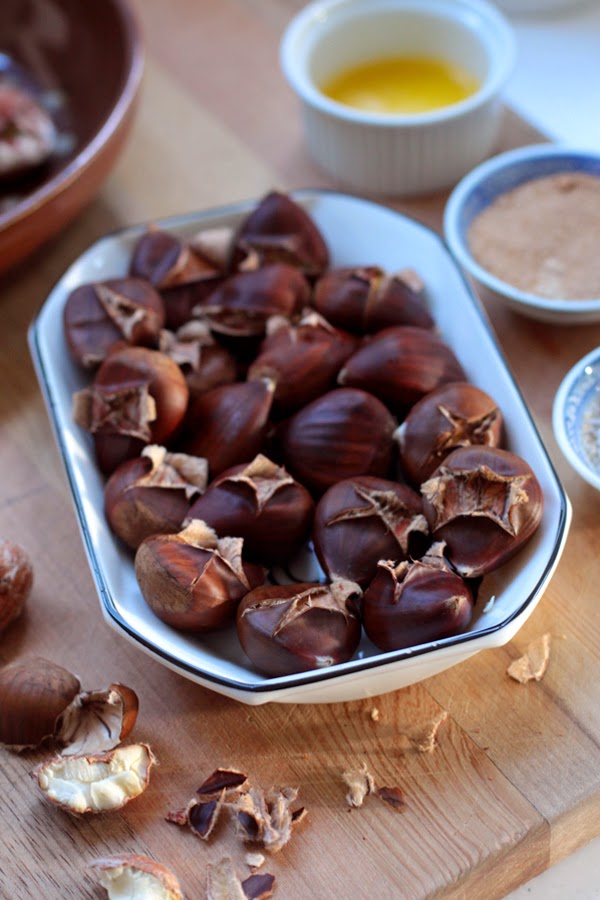
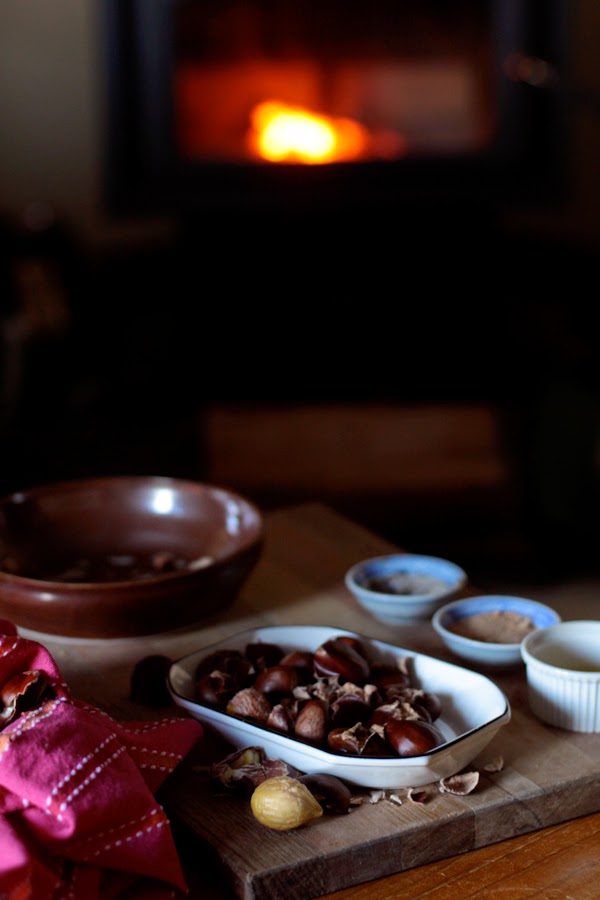
I know this will be the completely wrong time of year for many of you, but it’s chestnut season here in Australia and I’m keen to make the most of it. Although I love the flavour of them roasted over open flames, I find it very hard to get the timing right so I generally prefer to use an oven. My favourite way to eat them is with melted butter, salt and pepper – yum. I have a few other serving ideas below too :)
Roast Chestnuts
You will need:
– About 6 chestnuts per person
Select chestnuts that are fresh, firm (ie that they don’t have a pocket of air between the shell and the nut), fairly heavy and with a glossy, undamaged shell.
– Something yummy to serve them with (optional)
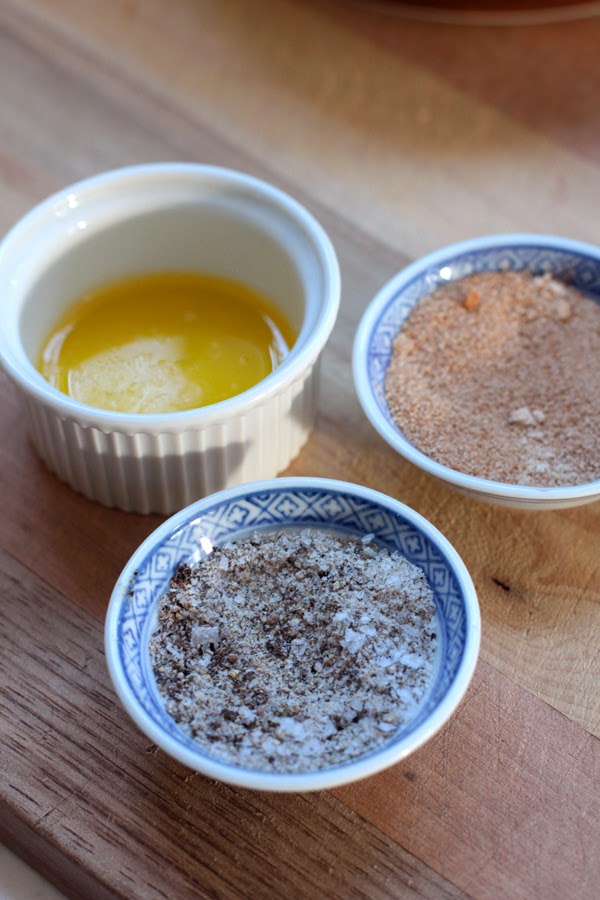
I like melted butter with salt and pepper but some other ideas include vanilla, chocolate, red wine, orange, honey, maple cinnamon sugar (also in my photos).
Method:
1. Rinse and lightly dry the nuts in a tea towel.
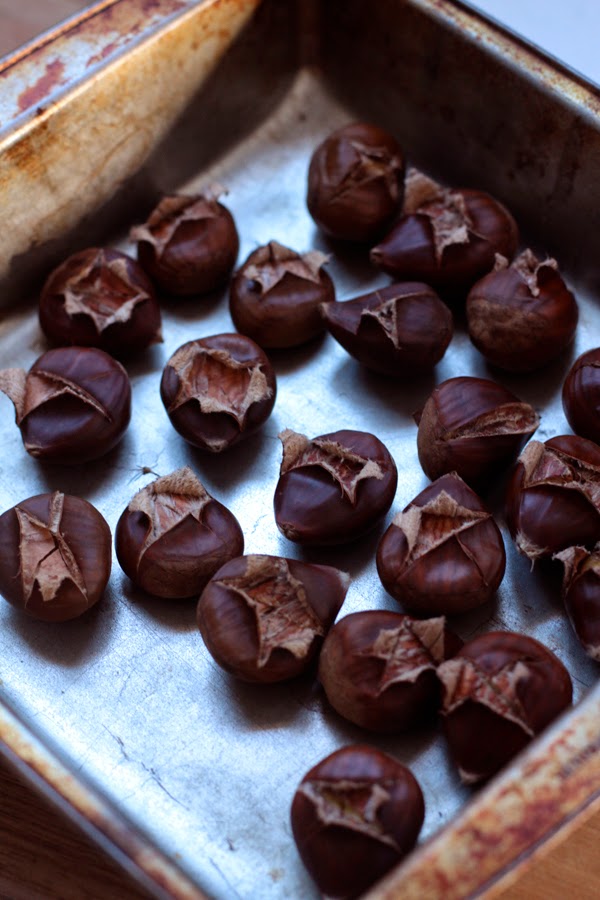
2. Using a sharp, serrated bread knife, cut a large cross into the flat side of the nuts, making sure to piece all the way through the shell.
3. Place in roasting pan with the cross sides facing up and bake in a 180oC (350oF) oven for abour 20-25mins.
4. Remove them from oven and wrap them in a tea towel for 5 mins (optional, but this can help them to peel more easily).
5. Serve straight away, chestnuts both peel and taste the best while still hot. You will need to remove both the outer shell and inner casing before you eat them. If the chestnuts are too hot to peel initially you can use the tea towel to break the shells apart (what I usually do). If they cool down too much to peel just throw them back in the oven for a few minutes.
Chestnuts should be a creamy yellow to white colour once peeled, sweet, yummy and have a soft, fluffy, potato-like texture. If they are rubbery and still have a bit of bite to them, just cook them for another 5 mins or so. Watch out for any blackened or greyish ones as these have gone bad (they are usually are quite shrivelled and dense too, sometimes you will be able to see mould on them).
Even though I cooked these in the oven, it’s still nice to serve them by the fire.
Do you love roast chestnuts too? What’s your favourite way to eat them?
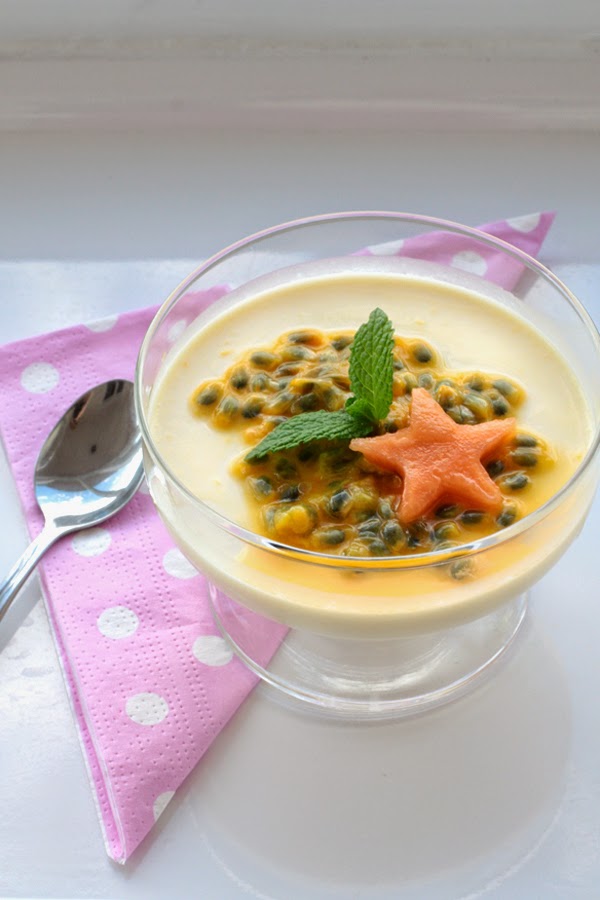
I love Panna Cotta and I especially love this version of it which replaces the traditional milk with tangy greek yogurt. For flavouring I’ve used some bush honey which also provides all the sweetness it needs whilst providing a lovely mellow background to the sharpness of the passionfruit. This is a super simple recipe, it literally takes 5mins to put all together and then you can forget about it for several hours until they are ready to serve!
Honey and Greek Yoghurt Panna Cotta with Passionfruit
1. Measure out yogurt in a medium size mixing bowl and set aside ready. Combine the gelatine with 3 tablespoons of the cream in a small bowl and leave for about 10mins to soften.
2. Meanwhile begin warming the remainder of the cream over a low heat. Whisk in the honey and heat till just about simmering point – make sure to not let it get too hot though.
3. Take off heat and stir in the gelatine and cream mixture. Whisk to combine.
4. Pour the mixture through a plastic or stainless steel sieve over the yoghurt (not nessessary but can prevent lumps of undissolved gelatine and result in a smoother texture – if you’re using a plastic sieve you may want to allow the mixture to cool slightly before doing so. A lot of metal sieves that aren’t stainless steel can effect the taste of the mixture so best avoid these). Whisk to combine.
5. Ladle the mixture into small panna cotta pots of your choosing (you could use ramekins, glasses, mugs, teacups, or even in just one large serving bowl).
6. Cover with cling wrap and leave them to set in the refrigerator for at least 6 hours or over night.
7. Serve chilled with fresh passionfruit. I like 1 passionfruit per Panna Cotta.
I like serving these in their little pots but if you want to invert them onto a plate simply run a butter knife around the edges of the panna cotta, turn it upside down on a plate and shake/tap gently till it loosens. If they aren’t coming out easily, placing the pots in boiling water for a second or too can help – also initially greasing the pots with some butter.
If you like you can substitute milk or buttermilk for the same quantity of yoghurt. If using milk, you’ll need to heat that along with the cream. If using buttermilk just proceed in the same way as the yoghurt.
You can also add pretty much any flavour or sweetener you can think of. Vanilla is a classic but also chocolate, coffee, strawberry, white chocolate, maple, coconut, carmel, chestnut or even pumpkin would all be good.
I just garnished this with a slice of red paw paw I cut with a biscuit cutter and a little bit of mint.
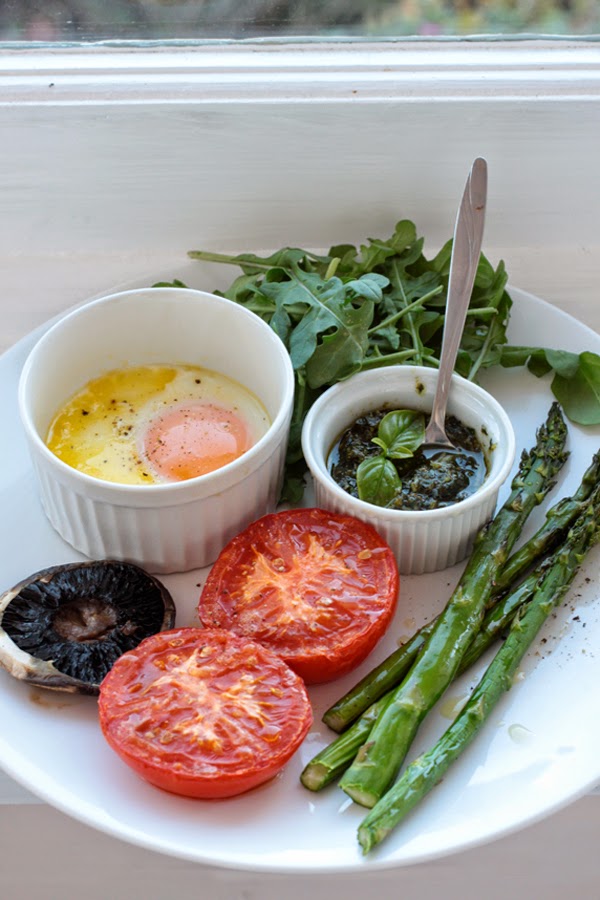
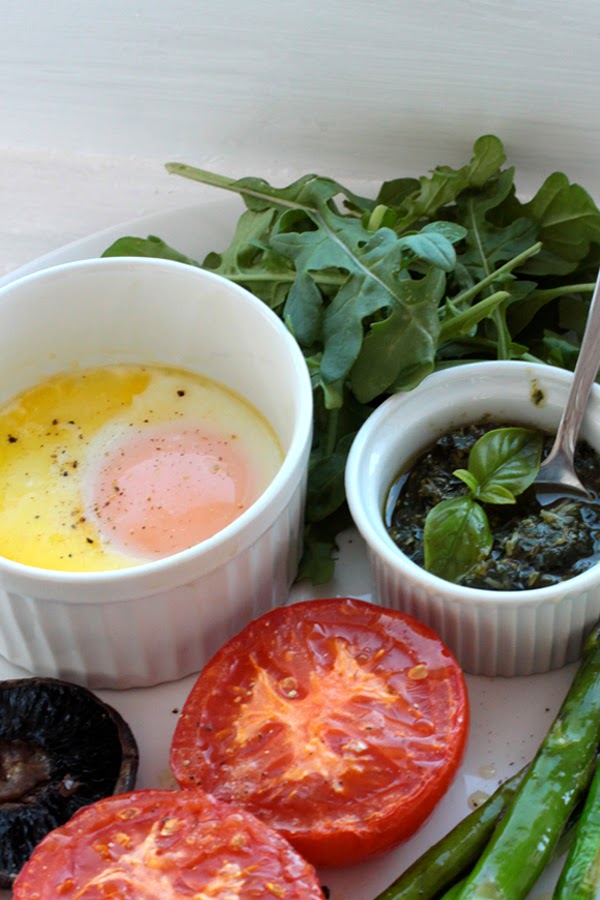
I thought I’d treat myself for lunch today and make a bit of a big breakfast. I absolutely love breakfast for lunch (or dinner or breakfast) and we had quite a a bit of basil too, so this is what I made:
Baked Eggs En Cocotte
This is one of my favourite ways to both cook and eat eggs. I think they look so pretty in their little pots and I love being able to add all sorts of yummy things to them while they cook too. They also lend themselves to being great for entertaining as you can cook a lot a once and prepare them well in advance. Butter is what makes these eggs amazing so don’t leave it out!
Ingredients:
Eggs
Unsalted Butter
Sea Salt and Pepper
You will also need:
3 inch (8cm) approx. diameter ramekins
A small baking dish
Boiling water from jug
Method:
1. Preheat oven to 180C (350F)
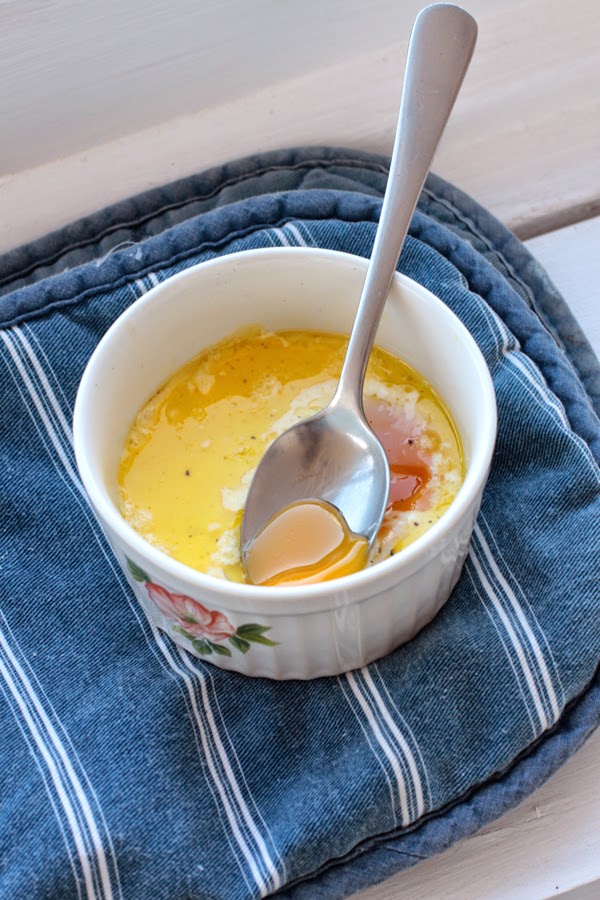
2. Grease the inside of each ramekin well with butter. Break in egg, add a piece of butter (around a teaspoon) and season with salt.
3. Place ramekins in baking dish and pour in enough boiling water to come up to about half way up the ramekins. Bake for 15mins if you like your yolks runny or 18mins if you like them a bit more set.
4. Season with pepper and serve.
I roasted some veggies alongside my eggs too. I put the tomato and mushroom in 15mins before the eggs went in (I just drizzled them with a bit of olive oil first), then I added some asparagus and continued to cook until the eggs were ready. Yum.
This is a really easy recipe to adapt and you can add pretty much anything to the eggs before of after they’ve been cooked. A spoonful of double cream with lots of pepper is a favourite of mine. Some other ideas include salsa, guacamole, sour cream, prosciutto, asparagus spears, chilli oil, mint, parmesan, chopped tomato, mushroom puree.
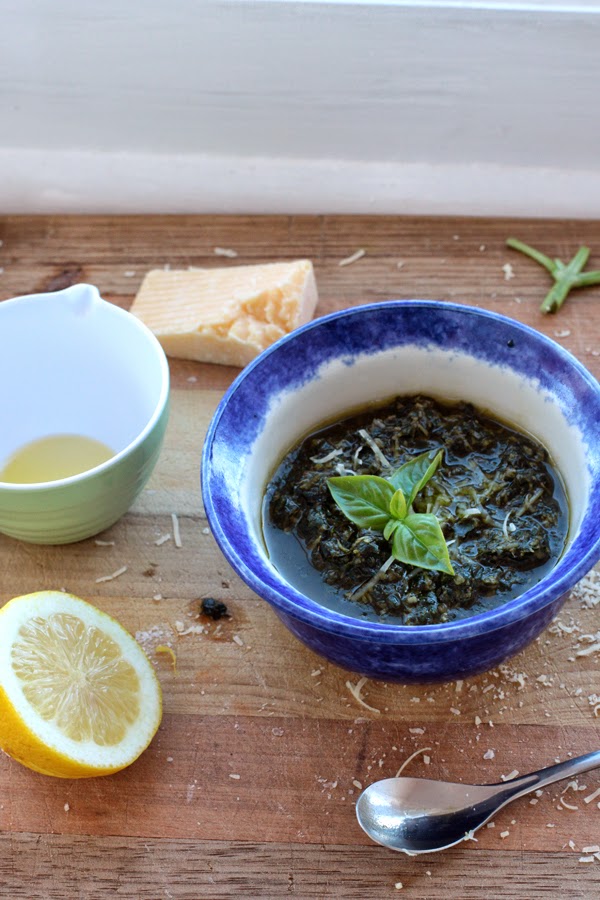
Basil Pesto
I love making fresh pesto as it can transform so many simple meals into something really special. It’s super easy to make. I wouldn’t get too caught up on the measurements – I don’t usually use a recipe for this or measure things that accurately and it always seems to taste good.
Make sure to choose a nice olive oil for this. If it’s got a particularly strong flavour you might want to dilute it down with some other flavourless oil such as sunflower, peanut or light olive. Make sure to use freshly grated parmesan too – it’s so much nicer than the powdery kind in this.
Ingredients:
(Makes about 3/4 cup – for 3 people)
2 good handfuls of basil leaves (about 1 cup loosely packed)
1 tbsp pine nuts (or cashews)
2 tbsp parmesan cheese
100ml (3.5 oz) extra virgin olive oil plus a bit extra
1 clove garlic (traditional but I don’t like garlic so I don’t add it to mine)
A good squeeze of lemon juice (optional – not traditional but I love it, especially instead of garlic)
Sea salt
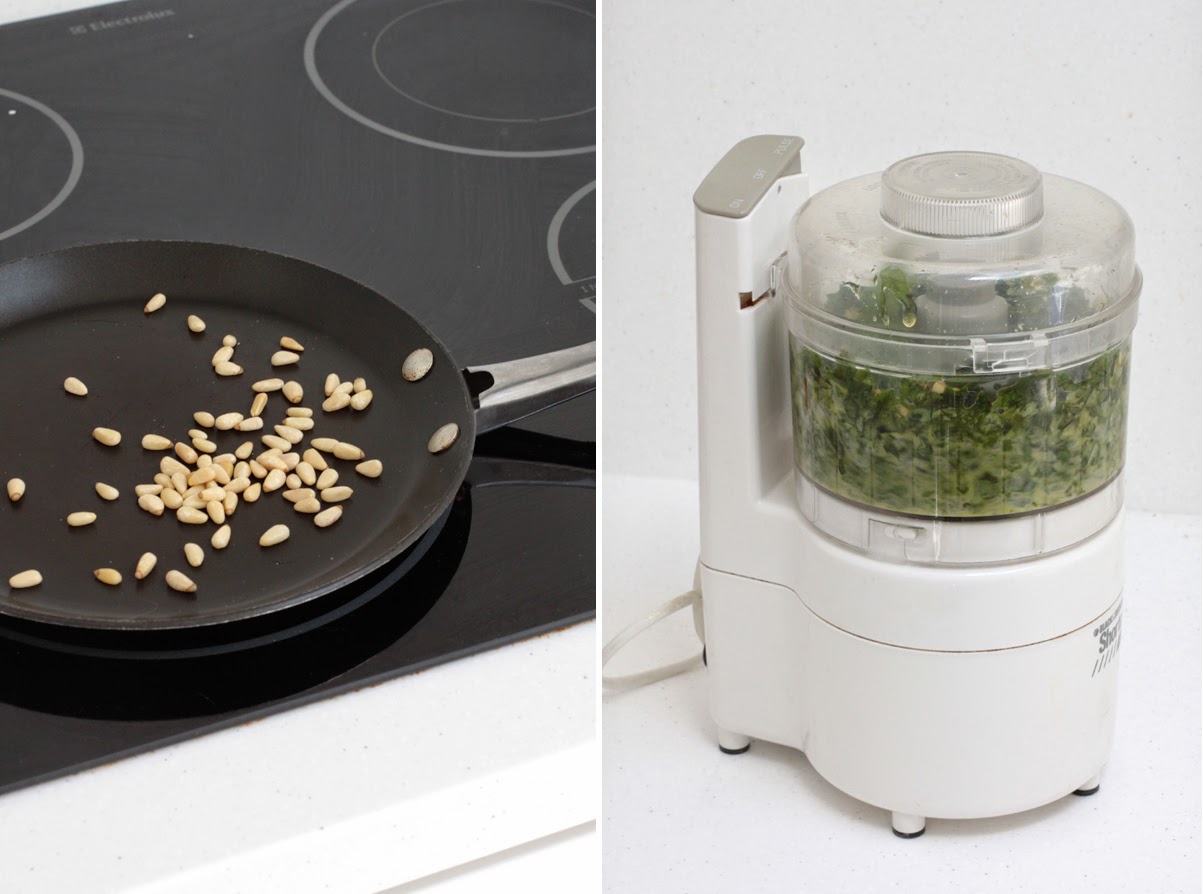
1. It’s nice to lightly dry roast the pine nuts first to bring out their flavour. Just throw them in a pan over medium heat and toss them about for about 2mins.
2. In a food processor blend pine nuts, basil, garlic, olive oil and a good pinch of salt. You could also use a mortar and pestle instead.
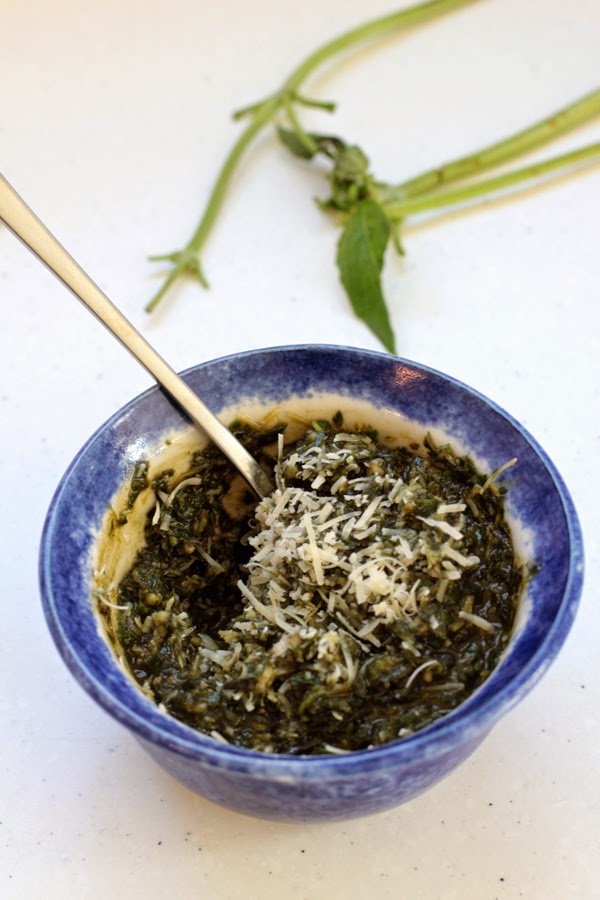
3. Empty mixture into a bowl and stir in parmesan cheese and lemon juice (if using). You may need to add a bit more olive oil depending on how you like the consistency. Taste for seasoning, although the parmesan is salty you might need to add a bit more salt.
Pesto is yummy on pasta, pizza, meat, swirled into soups, on rice, potato salad, and on eggs (of course)
Lunch time…
Have you ever made Eggs en Cocotte?? What’s your favourite way to eat them??
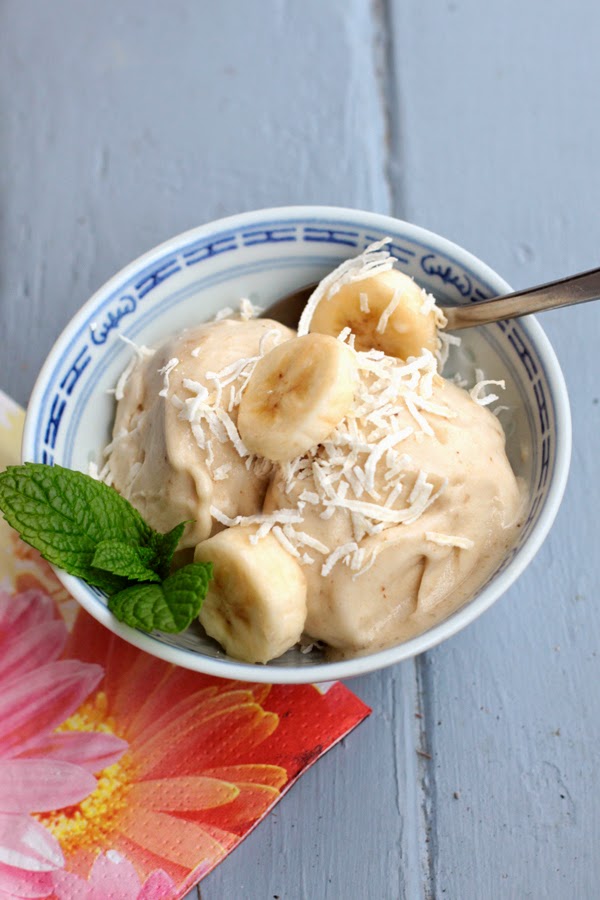
This has got to be one of the easiest recipes ever, and it’s so good too! You’d never guess it was just banana by eating it. I first learnt this idea in a health food book years ago (I think it was a Rosemary Stanton one but I’m not exactly sure). I thought it was a clever idea but was sceptical about how good it would be. The banana really does blend up into the most amazing consistency, it truly is creamy, like ice-cream and not at all icy or glunky like you might expect. It’s lovely and refreshing to eat on its own but I think best served on pancakes (a great substitute for ice-cream/cream) or with scoops of other ice-cream flavours. There are lots of other things you could add to make this extra special too – like cocoa powder, peanut butter or other frozen fruit (I listed a few more ideas in the recipe). I think you’ll enjoy making this :)
Banana Ice-Cream
Ingredients:
2 Well Ripened Bananas
Optional:
A good pinch of cinnamon
1/4 tsp vanilla
3 tsps honey or maple syrup
You could also add: Cocoa powder, other frozen fruit (such as berries or mango), dried coconut, dried fruit, dates, choc chips, walnuts, pecans, peanuts, a spoonful of cream, yoghurt or custard, peanut butter, nutella, hundreds and thousands (nonpareils).
Method:
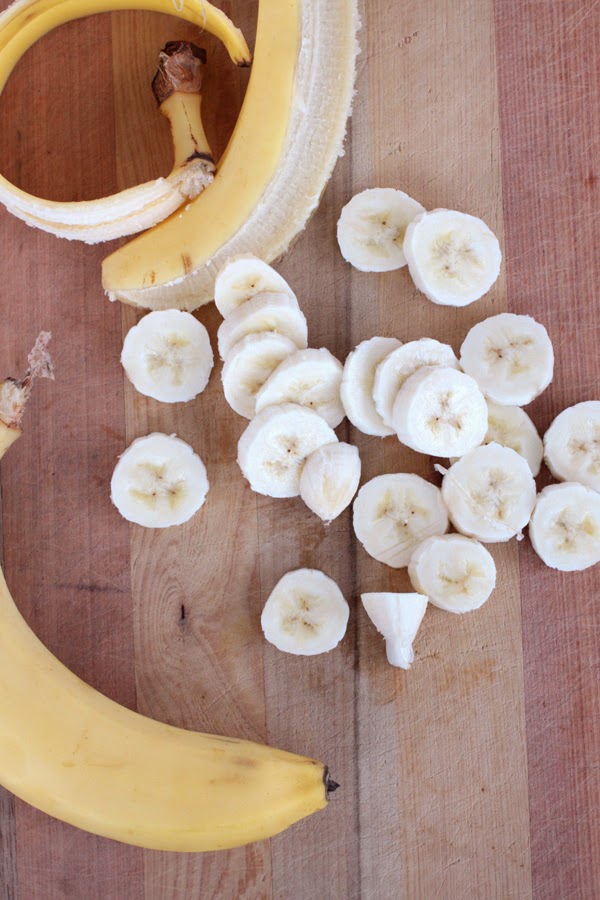
1. Slice bananas into about 1/4 inch thick rounds.
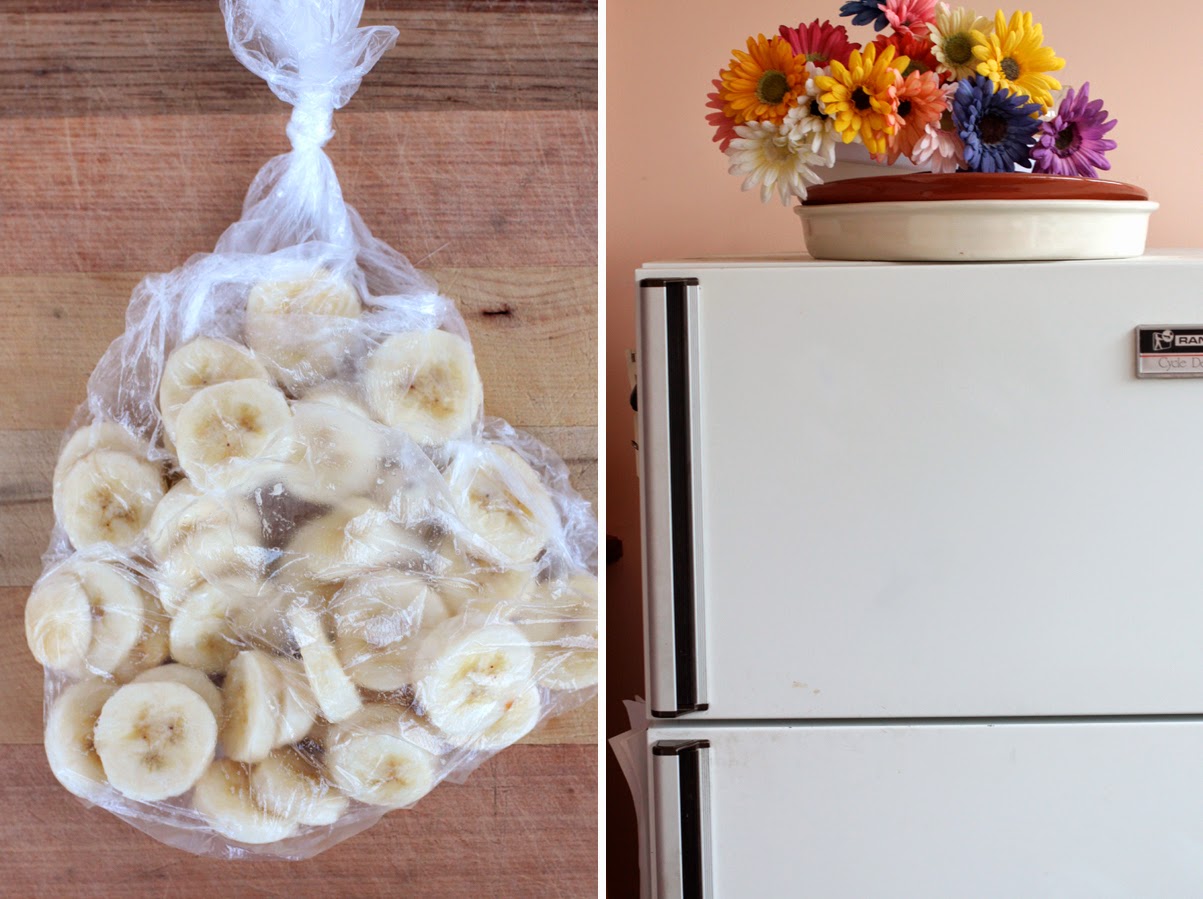
2. Put slices into plastic freezer bag or container and freeze (they should only need a night to freeze properly). It’s also a good idea to try to separate the pieces a bit so they don’t freeze in one chunk.
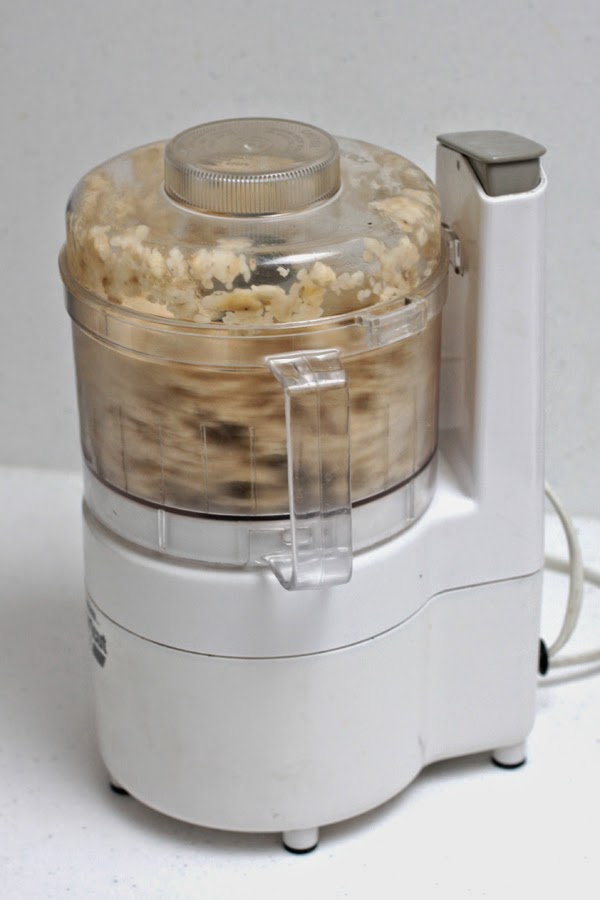
3. When ready to make ice-cream, combine banana slices with other ingredients (if using) in food processor and blend. The bananas will turn into a chunky mess for the first 30secs or so but then soften into a smooth ice-cream consistency.
4. Enjoy straight away!
Although this will keep fine in the freezer, I think it’s something that’s nicest made up fresh. It’s super easy to have frozen banana on hand in the freezer – and they keeps for months too.
Bonus Tip: You can also make fresh sorbet out of any frozen fruit in the same way using the processor. Berries are great – most will need some sort of a sweetener though. Frozen mango is really good too.
I think the ice-cream is best on hot pancakes with lots of maple syrup, butter and blueberries.
Have fun making this, and let me know how you go :)